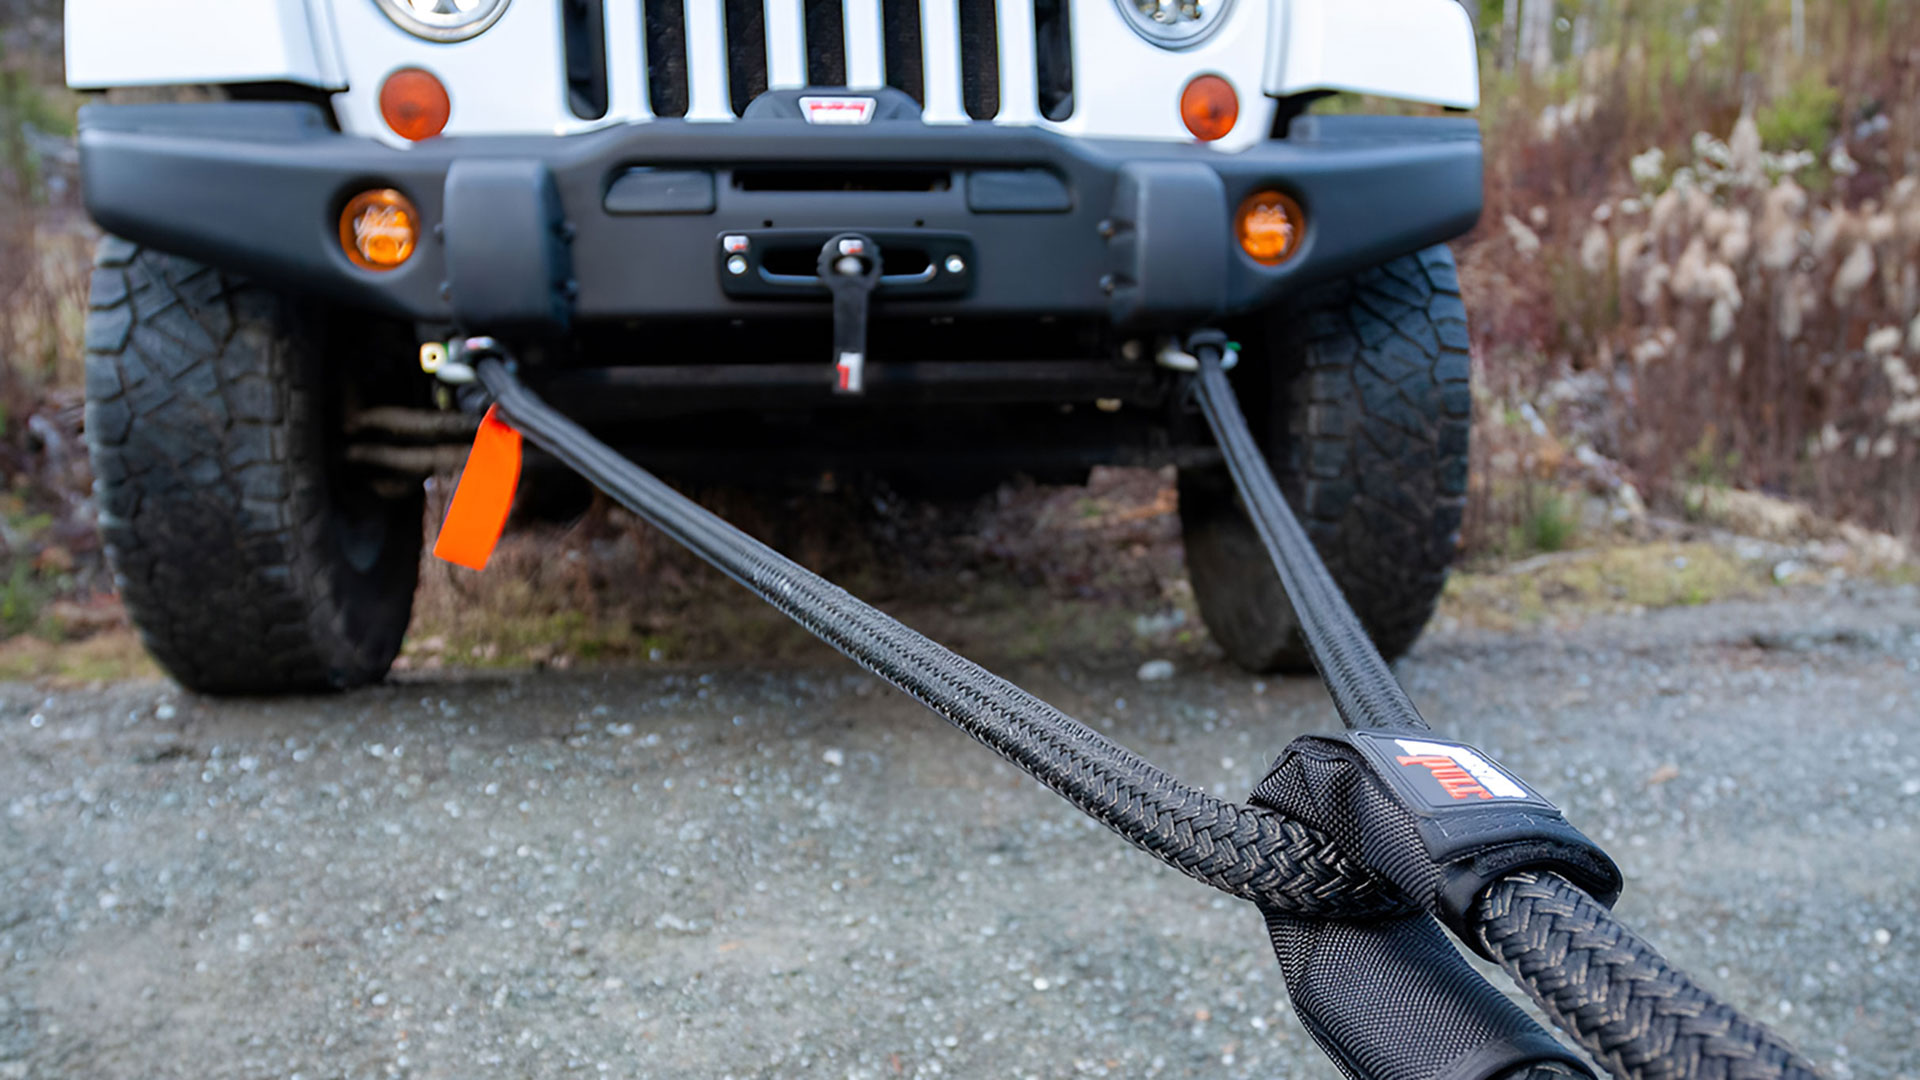
Image credit: Master Pull
Many recovery points aren't rated for single-point recoveries and are designed to be used with a bridle (also referred to as bridging straps, or equalizing ropes) across two points to distribute the load across both points, reducing the stress and likelihood of damage.
Improper use of a bridle though can still result in bending your recovery points or damaging your vehicle.
In our examples here we'll use steel bow shackles, as these are suitable for virtually all recovery points. Soft shackles are often not appropriate for bull bar recovery points as many have right-angle corners that will damage soft shackles under load.
If your recovery point has an appropriate rounded bevel edge to be soft-shackle friendly though, the same information applies.
Dos and Don'ts
Use one bridle only, not two
Bridles are intended to be used as a single unit only. As recovery angles change from, this allows the connected strap to slide from side-to-side on the bridle while still distributing load between the two recovery points.
If separate straps are used and joined in the middle, any change of angle left or right will immediately shift the full force to the single recovery point on the opposite side, as the inside line goes slack (pictured below).
Use a sheath to protect your bridle
Recovers are never perfectly straight, there is guaranteed to be some movement of your connecting strap from side to side on the bridle. Under load, this can create significant abrasion, weakening your bridle and the eyelet of your connecting strap.
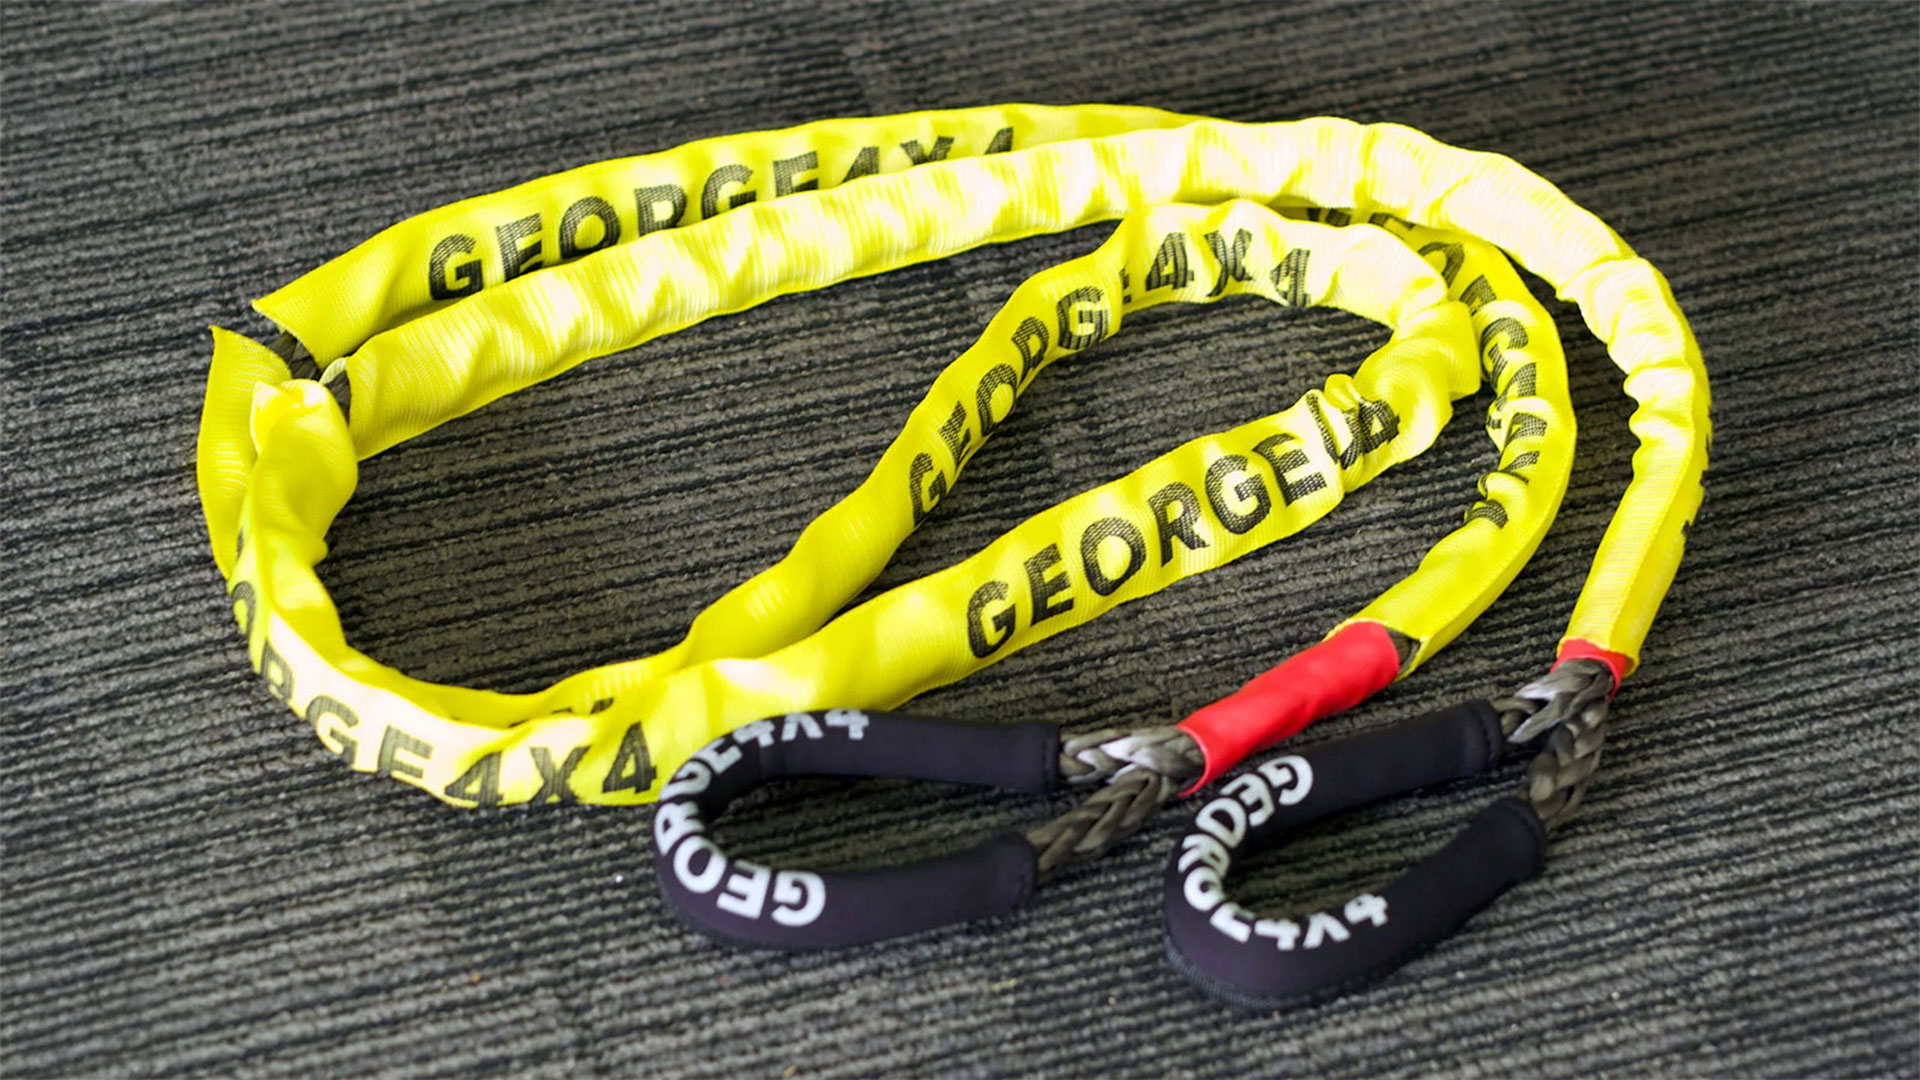
Above: The yellow protective sheath on a George 4x4 recovery girdle.
Longer is better, too short is damaging
Length is an important factor when selecting your bridle, it needs to be of sufficient length to minimize side-load on your recovery points.
When using a bridle, the recovery point is subject to both the inline force of the recovery pull and the side-load from the tension of the bridle pulling the recovery points toward the centre of the vehicle.
Using a bridle that is too short will dramatically side-load your recovery points. A 1m bridle could potentially put over a tonne of side-load on your recovery points when recovering a heavy vehicle, or vehicle/caravan combo.
This might not seem like a lot given that your recovery points are likely to be rated for multiple tonnes of load, however, this rating is only going to be applicable for a straight, inline pull on the points themselves. Real-world recoveries are never perfectly straight, and other forces always come into play.
Overlooking this is how recovery points get bent.
Side load created by bridles: Examples
In the example charts below, you can see the calculations of the amount of side-load on the recovery points depending on the angle of the bridle; 0 degrees being a straight line/no bridle, and 90 degrees being a perfectly taught strap between two recovery points.
Note: Below I've used an example recovery force of 4,000kg (and 8,000lb for Imperial readers). Obviously, the load of any given recovery will vary depending on many factors: vehicle weight, incline, how deeply bogged the vehicle is, etc.
A light four-wheel-drive stuck on wet grass, but otherwise on a relatively firm, flat surface would take a fraction of this force to free. A heavy vehicle towing a caravan and/or mired in deep mud could be significantly more.
Note that the inline force and side load figures are per recovery point.
Metric
| Load angle | Recovery force (kg) | Inline force (kg) | Side force (kg) |
| 0 | 4,000 | 2,000 | 0 |
| 10 | 4,000 | 2,000 | 175 |
| 20 | 4,000 | 2,000 | 353 |
| 30 | 4,000 | 2,000 | 536 |
| 40 | 4,000 | 2,000 | 728 |
| 50 | 4,000 | 2,000 | 932 |
| 60 | 4,000 | 2,000 | 1,155 |
| 70 | 4,000 | 2,000 | 1,400 |
| 80 | 4,000 | 2,000 | 1,679 |
| 90 | 4,000 | 2,000 | 2,000 |
Imperial
| Load angle | Recovery force (lb) | Inline force (lb) | Side force (lb) |
| 0 | 8,000 | 4,000 | 0 |
| 10 | 8,000 | 4,000 | 358 |
| 20 | 8,000 | 4,000 | 706 |
| 30 | 8,000 | 4,000 | 1,072 |
| 40 | 8,000 | 4,000 | 1,456 |
| 50 | 8,000 | 4,000 | 1,864 |
| 60 | 8,000 | 4,000 | 2,310 |
| 70 | 8,000 | 4,000 | 2,800 |
| 80 | 8,000 | 4,000 | 3,358 |
| 90 | 8,000 | 4,000 | 4,000 |
As you can see, as load angles of 30 degrees and up, the amount of side-load starts to dramatically stack up.
What length bridle should you buy
There's no one-size-fits-all answer to this as it will vary based on how/what your recovery points are rated for, and their distance apart.
As a rule of thumb, bridles should be a minimum of 3.5m in length, as this should be appropriate for the majority of vehicles with recovery points around 85cm apart (33 inches). In this scenario, your load angle will be just below 30 degrees.
I stress the point though that 30 degrees is not a proven standard by any means, this is just based on my experience (including bending multiple points in awkward recoveries), and with the amount of side-load at 30 degrees and beyond I would aim to not exceed this.
Ask me how I know...
That said, a longer bridle only makes things better, using a 4m or 5m bridle will further reduce load angle and stress on your recovery points. If you have a vehicle with recovery points wider than 85cm/33 inches, I would jump straight to a 5m strap or more.